 Passboards.
Guide · Trips
The best way to share backpacking photos with your group
By Max Khan, founder of Passboards · Updated
Backpacking is the trip where photos get stuck. There’s no signal for days, batteries are rationed, and by the time you’re back at the trailhead everyone just wants a burger and a shower. A month later, the photo of the sunrise from the ridge is still on one person’s phone.
This guide covers the whole path: shooting on the trail without killing your battery, keeping photos safe until you have signal, sharing them as a group, and thinking about where you tag.
The word “backpacking” means two things. Most of this is about multi-day hiking, but the sharing advice works just as well for a month of hostels and trains; there’s a short section on that at the end.
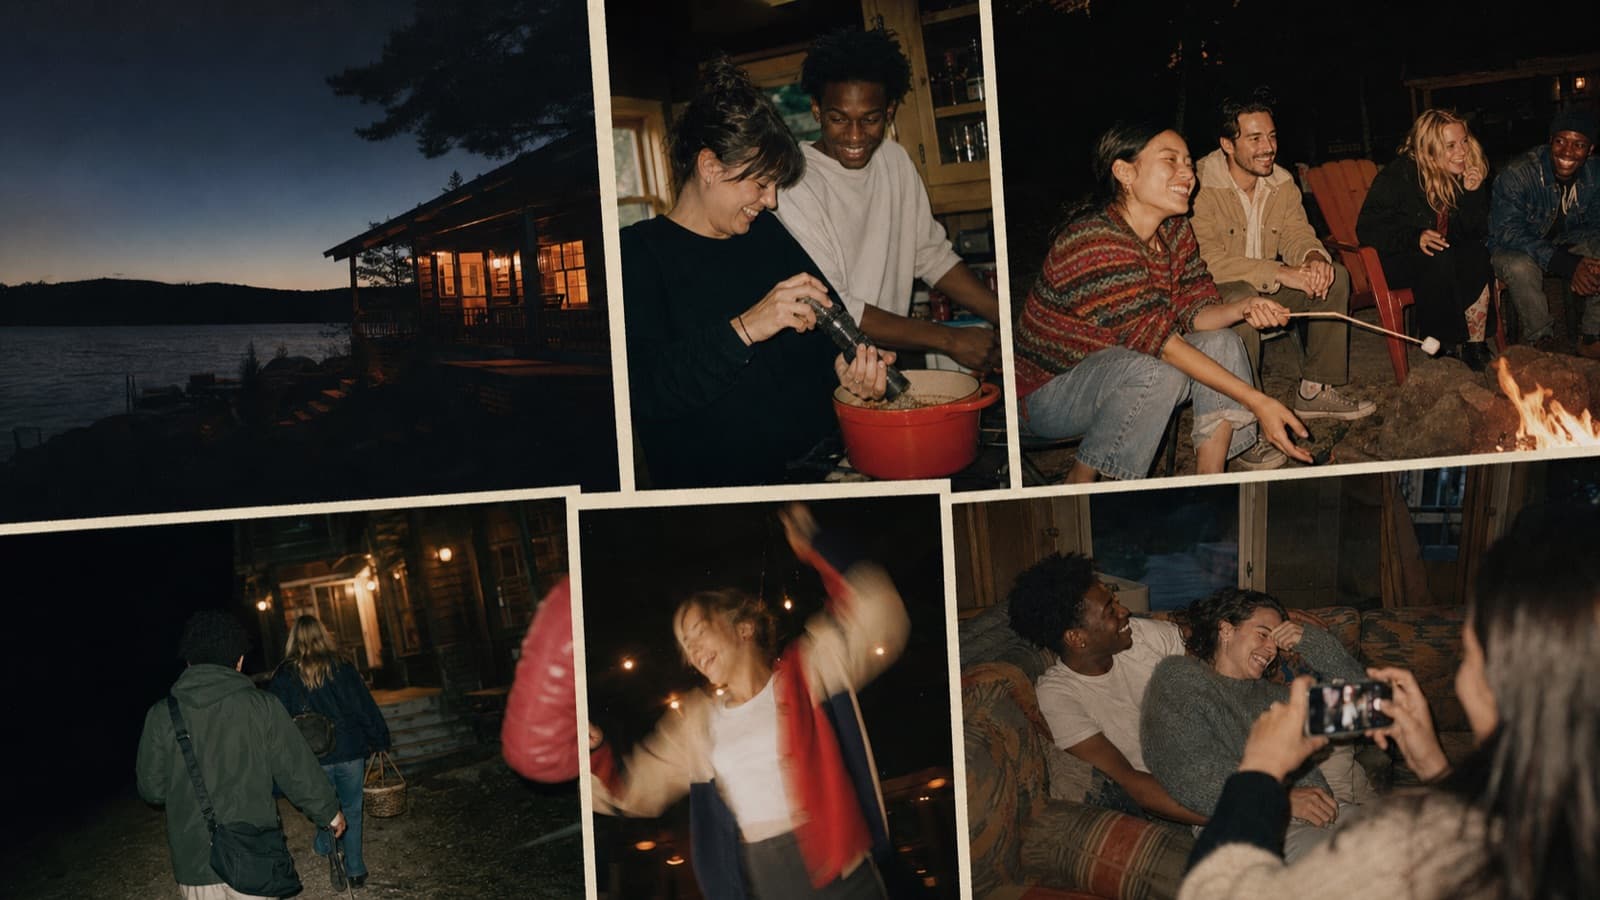
Before you go: agree on the plan
A two-minute conversation at the trailhead saves weeks of “can you send me that one?”
- Pick one shared place for the photos and send the invite while everyone has signal. Invites sent from the trail don’t arrive.
- Decide who’s shooting what. One person on landscapes, one on people, one on camp life. You’ll get more variety and use less battery overall.
- Download maps and anything else you need offline. Your phone will be your camera, map and torch. Don’t count on signal.
On the trail: shoot smart, save battery
Protect the battery
- Airplane mode when you’re out of range. Searching for signal is one of the biggest drains.
- Lower screen brightness and turn off Background App Refresh for the trip.
- Keep the phone warm at night. Cold drains lithium-ion batteries; Apple says iOS devices work best between 0° and 35° C, and performance returns once the battery warms up (Apple). Sleep with it in your bag.
- Carry a power bank sized for the trip. A small solar panel helps on longer ones.
Shoot for the story, not just the view
The summit photo is the one everyone takes. The photos you’ll care about later are the ones nobody thinks to take:
- Packing at the trailhead, everyone’s faces before the first climb.
- Lunch spots, water filtering, blisters being taped.
- Camp: the tent going up, dinner in the pot, headlamps at night.
- The sign at the end, and the first meal back in town.
Short video clips of camp chat or a river crossing say more than another landscape.
Back up on the go
Phones get dropped in rivers. If anyone has a way to back up on the trail (a second phone, a camera with its own card), use it for the best shots.
Getting back into signal: upload as a group
The first evening with signal is your best chance. Everyone’s still together and the trip is fresh.
- Upload on Wi-Fi if you can. Video from a week on the trail is large. A motel or café connection is faster and saves your data.
- Post by day or by section. “Day 2: the pass”, “Day 3: the lake”. A trip told in order is far easier to follow than a dump of 400 photos.
- Write something down. Where you camped, what went wrong, the running joke. You’ll forget faster than you think.
- Share the late ones too. The friend with the proper camera always sends theirs three weeks later. Make sure there’s still somewhere for them to go.
The same habits work for any group away together; the group trip guide covers setting up the album before you leave.
Tag thoughtfully
Photos from phones usually store the GPS location in the file (EXIF data). That’s fine for your own memories, but when photos are shared, it can reveal a hidden campsite, a fragile spot or a private property. Leave No Trace publishes guidance on social media that asks people to think about how and where they tag.
- Share general places (“the Sierra”, “Olympic coast”) rather than exact spots for sensitive areas.
- Strip location before posting publicly. On iPhone, tap Options at the top of the sharing screen and turn off Location before you send.
- Keep the full trip in a private album shared only with the group.
Passboards removes location from photo files before they upload; our privacy policy has the detail.
Backpacking abroad: hostels, trains and months of travel
For a long trip through several countries, the same ideas apply over a longer time:
- One album for the whole trip, with a post per city or stop.
- Invite people you meet along the way to the stretch you travelled together, if your tool allows adding people later.
- Keep it private by default. Hostel photos include a lot of people who didn’t sign up to be online.
- Upload on hostel Wi-Fi and let it run overnight.
Choosing a place to share
- Group chat: where most trail photos go first. It compresses media and buries it quickly, and you won’t browse it in a year.
- Google Photos or Apple Shared Albums: free, cross-platform (Google) or built in (Apple), good for a photos-only pile.
- Passboards: for a group of iPhone friends who want the trip kept as a story, with days, captions, notes and who took what.
See Shared album apps compared.
How this works in Passboards
Each trip gets a board: one shared place where everyone who hiked it adds what they caught. The group trip album page has the tour.
- Make the board at the trailhead (while you have signal). Choose Backpacking (“Every trail photo from the whole group”) and it comes dated with an invite message ready.
- Send the invite link or show the QR code. Friends who don’t have the app sign up and land straight on the board as Contributors.
- Post when you’re back in signal. Up to 15 photos or videos per post, with a caption and the friends in it. Uploads keep going if you lock the phone or switch apps, and you can share straight from the Photos app to a board, up to 15 at a time.
- Write it up. Post a note for each day, or a full trip report as an essay with headings and quotes.
- Keep it. Export the whole board with every caption, date and name, free, or save it all to Photos. Make a short recap video with an original soundtrack.
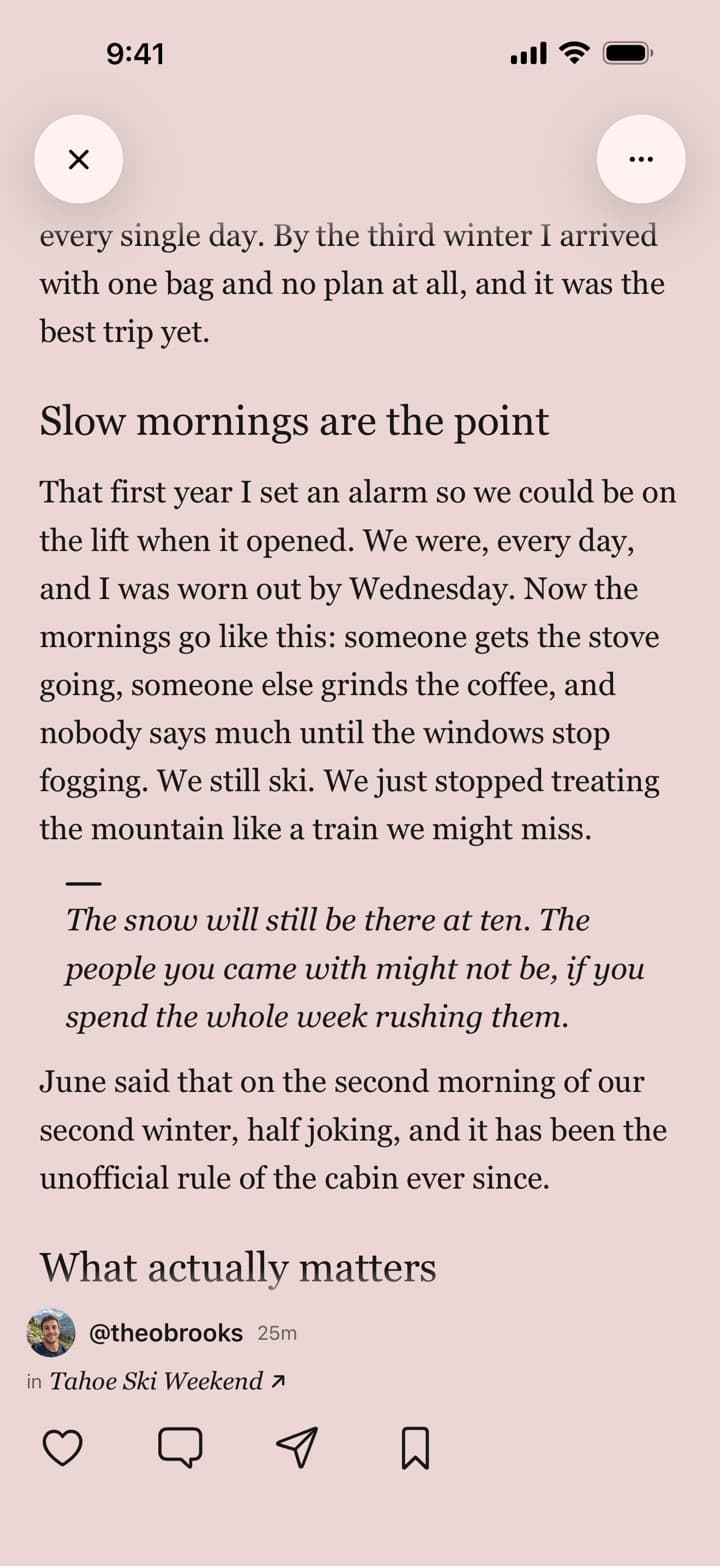
Honest details:
- Location and device details are removed from photo files before they upload. A place only appears if someone adds one to a post, so hidden campsites stay hidden.
- It’s an iPhone app for iOS 26 or later; everyone who adds photos needs an account, which is made in the app.
- Boards hold up to 100 members and 250 posts. Photos are kept sharp at full-screen size and video at 720p, so keep your originals too.
- Free, with no ads today. Stuck? The Help Center walks through every step.
Free for iPhone on iOS 26 or later. No ads today.
Common questions
What people ask.
How do I share photos when there’s no signal on the trail?
You can’t until you’re back in range. Take photos as normal, keep your phone in airplane mode to save battery, and upload as a group the first evening you have Wi-Fi or signal.
How do I save battery for photos on a backpacking trip?
Use airplane mode, lower brightness, keep the phone warm at night and carry a power bank.
Should I geotag backpacking photos?
Think before sharing exact locations of sensitive or little-known spots. Share general areas publicly and keep precise locations in private albums, or remove location data before posting.
Does Passboards keep the location of my photos?
No. Location and device details are removed from photo files before they upload. A place only appears if someone adds one to a post.
What’s the best way to organise a multi-day trip’s photos?
One album, one post per day or section, with a short caption. It reads like the trip.
Can people add photos weeks later?
In Passboards, yes. Boards have no deadline.
Does everyone need an iPhone?
For Passboards, yes: iOS 26 or later. For mixed groups, a cross-platform album such as Google Photos is easier.